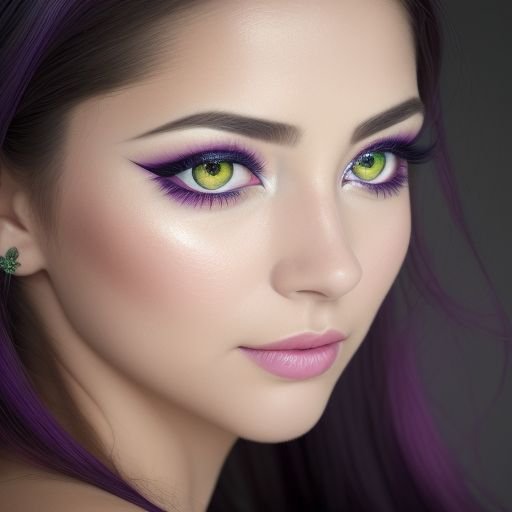
How to Make Eyelashes: A Comprehensive Guide
Have you ever wondered how to achieve those stunning, fluttery eyelashes that seem to be the envy of everyone around you? Look no further! In this guide, we will take you through the process of making your own eyelashes and explore the materials used to create these beauty accessories. Get ready to bat those lashes with confidence!
Why Make Your Own Eyelashes?
Before we dive into the nitty-gritty of making eyelashes, you might be wondering why you should bother making them yourself when there are countless options available in stores. Well, here are a few reasons:
- Customization: Making your own eyelashes allows you to create a unique and personalized look that complements your eye shape and makeup style.
- Cost-effective: Purchasing false eyelashes can be expensive, especially if you wear them regularly. Making your own can save you money in the long run.
- Sustainability: By making your own eyelashes, you have control over the materials used, ensuring they are eco-friendly and cruelty-free.
Materials Needed
Now that you’re convinced to embark on this DIY eyelash adventure, let’s gather the materials you’ll need:
- False lash strips or individual lash clusters
- Eyelash adhesive
- Tweezers
- Scissors
- Mascara
- Eyelash curler
Step-by-Step Guide
1. Choose Your Lashes: Decide whether you want to use false lash strips or individual lash clusters. False lash strips are easier to apply, while individual lash clusters offer a more natural look.
2. Measure and Trim: Hold the lash strip against your eyelid to determine the desired length. Trim any excess from the outer corner of the strip using scissors. If you’re using individual lash clusters, skip this step.
3. Apply Adhesive: Using a small brush or the applicator provided with the adhesive, apply a thin layer of glue along the lash strip or individual lash cluster. Wait a few seconds for the adhesive to become tacky.
4. Placement: Using tweezers, carefully place the lash strip as close to your natural lash line as possible. If you’re using individual lash clusters, apply them directly to your natural lashes, starting from the outer corner and working your way in.
5. Press and Secure: Gently press the lash strip or individual lash clusters onto your natural lashes to ensure they adhere properly. Hold them in place for a few seconds to allow the adhesive to dry.
6. Curl and Mascara: Once the adhesive is fully dry, use an eyelash curler to curl both your natural lashes and the false lashes together. Apply a coat of mascara to blend them seamlessly.
Tips and Tricks
Now that you know the basics of making your own eyelashes, here are a few additional tips to help you achieve the best results:
- Experiment with different lash styles and lengths to find the perfect look for your eyes.
- Apply eyeliner before applying false lashes to create a seamless appearance.
- Remove false lashes gently by soaking a cotton pad in makeup remover and pressing it onto your closed eyes. This will help dissolve the adhesive and prevent any damage to your natural lashes.
- Practice makes perfect! Don’t be discouraged if your first attempt isn’t flawless. Keep trying, and soon you’ll be a pro at applying your own eyelashes.
So, there you have it! With a few simple materials and a little practice, you can make your own eyelashes and achieve the stunning, eye-catching look you desire. Get creative, have fun, and let your lashes do the talking!


