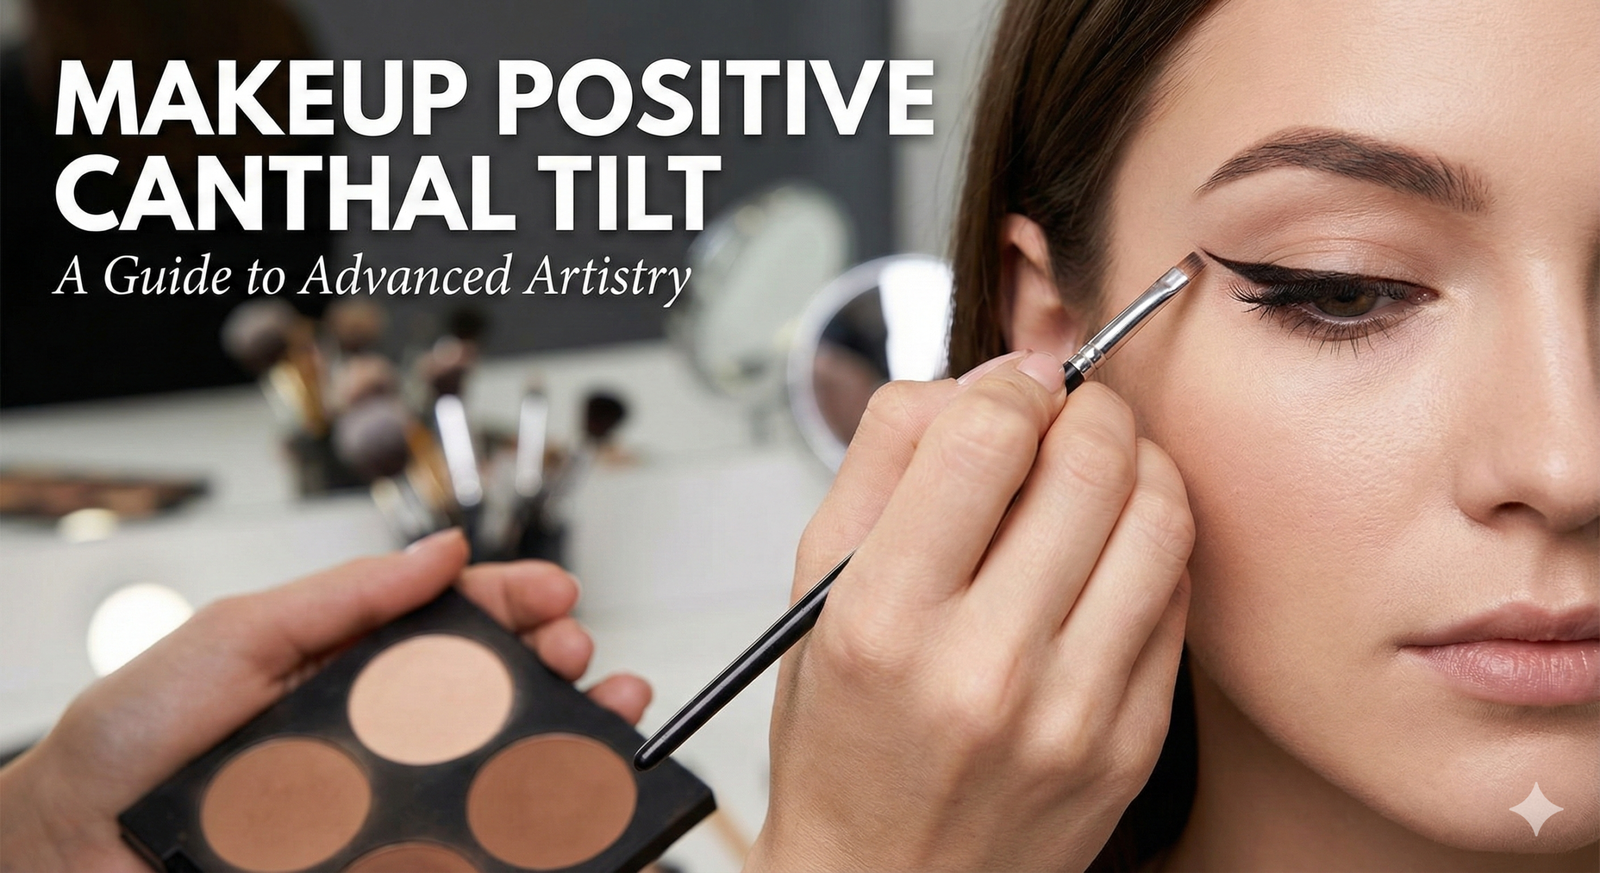

Introduction
So, you’ve decided to get a nose ring to enhance your already beautiful curved model face. Congratulations! Nose rings can be a stylish and trendy accessory that adds a touch of uniqueness to your overall look. However, the process of putting in a nose ring can be a bit intimidating, especially if you’re new to it. But fear not! In this guide, we’ll walk you through the steps of putting in a nose ring and offer some tips specifically tailored to those with a curved model face.
Step 1: Gather the Necessary Supplies
Before you begin, make sure you have all the supplies you need. These include a sterilized nose ring, clean hands, rubbing alcohol or saline solution, and a mirror.
Step 2: Cleanse and Prepare
Wash your hands thoroughly with soap and water to ensure they are clean. Then, use a cotton pad soaked in rubbing alcohol or saline solution to clean the area around your nose piercing. This will help prevent any infections.
Step 3: Choose the Right Nose Ring
With a curved model face, you’ll want to choose a nose ring that complements your unique features. Opt for a ring with a smaller diameter and a delicate design that will accentuate your natural curves without overwhelming your face.
Step 4: Positioning the Nose Ring
Stand in front of a mirror and gently hold the nose ring against your nostril. Take note of the position that looks most flattering on your curved model face. You may want to experiment with different angles and positions until you find the perfect spot.
Step 5: Inserting the Nose Ring
Once you’ve determined the ideal position, hold the nose ring with the curved end facing up. Carefully insert the straight end of the nose ring into your piercing hole, applying gentle pressure. Slowly rotate the ring until the curved end is inside your nostril.
Step 6: Adjusting and Securing
Take a moment to adjust the nose ring to ensure it sits comfortably and looks symmetrical. Gently slide the ring up or down, if needed, to find the most flattering placement. Once you’re satisfied with the position, give the ring a slight twist to secure it in place.
Step 7: Aftercare
After putting in your nose ring, it’s crucial to follow proper aftercare instructions to avoid any complications. Clean the area around the piercing twice a day with a saline solution or a mild, fragrance-free soap. Avoid touching the ring unnecessarily, and be mindful of any potential irritants that may come into contact with your new piercing.
Tips for Those with a Curved Model Face
1. Consider the size and shape of the nose ring. Opt for smaller and delicate designs that complement your facial curves.
2. Experiment with different positions and angles to find the most flattering placement for your nose ring.
3. Seek professional help if you’re unsure about the process or if you’re experiencing any difficulties.
4. Be patient. It may take a few tries to get the nose ring in the perfect position, so don’t get discouraged.
Conclusion
Putting in a nose ring can be a fun and exciting process, especially when you have a curved model face that adds a unique touch to your overall look. By following these steps and considering the tips provided, you’ll be able to confidently and stylishly rock your new nose ring. Remember to prioritize proper aftercare to keep your piercing clean and healthy. Happy piercing!